Included in this article:
- What's Zapier?
- What you can get from TAP
- Prerequisites
- Fields mapping
- Checking your TAP Dashboard
- Getting started on Zapier
- Connecting to Hubspot
- Connecting to Salesforce
- Using other CRMs
TAP integrates with dozens of the most popular CRM systems via Zapier including HubSpot and Salesforce. It is a piece of software that sits in between TAP and your CRM and takes the manual development work out of integration.
Using Zapier, you create a 'Zap', match up your TAP data fields with your CRM fields, and get started right away.Please note that Zapier incurs a charge for more than 100 data pulls per month.
What you can get from TAP
- prospect basic information i.e. name, surname, email, phone (if provided), nationality
- answers to optional data questions
- UTM data
- Chat transcripts
- decide on what you want to get from TAP profiles and create respective fields in your CRM system
- admin access to TAP dashboard for having an admin user credentials and API key
- admin access to Zapier account (to set up the integration (aka ZAP))
- admin access to your CRM system for configuration of fields for mapping (optional)
First, define fields you want to get populated after the integration. In 99% of the cases, you will find that the following below fields are enough for making sure that you capture all of the relevant information about a prospect.
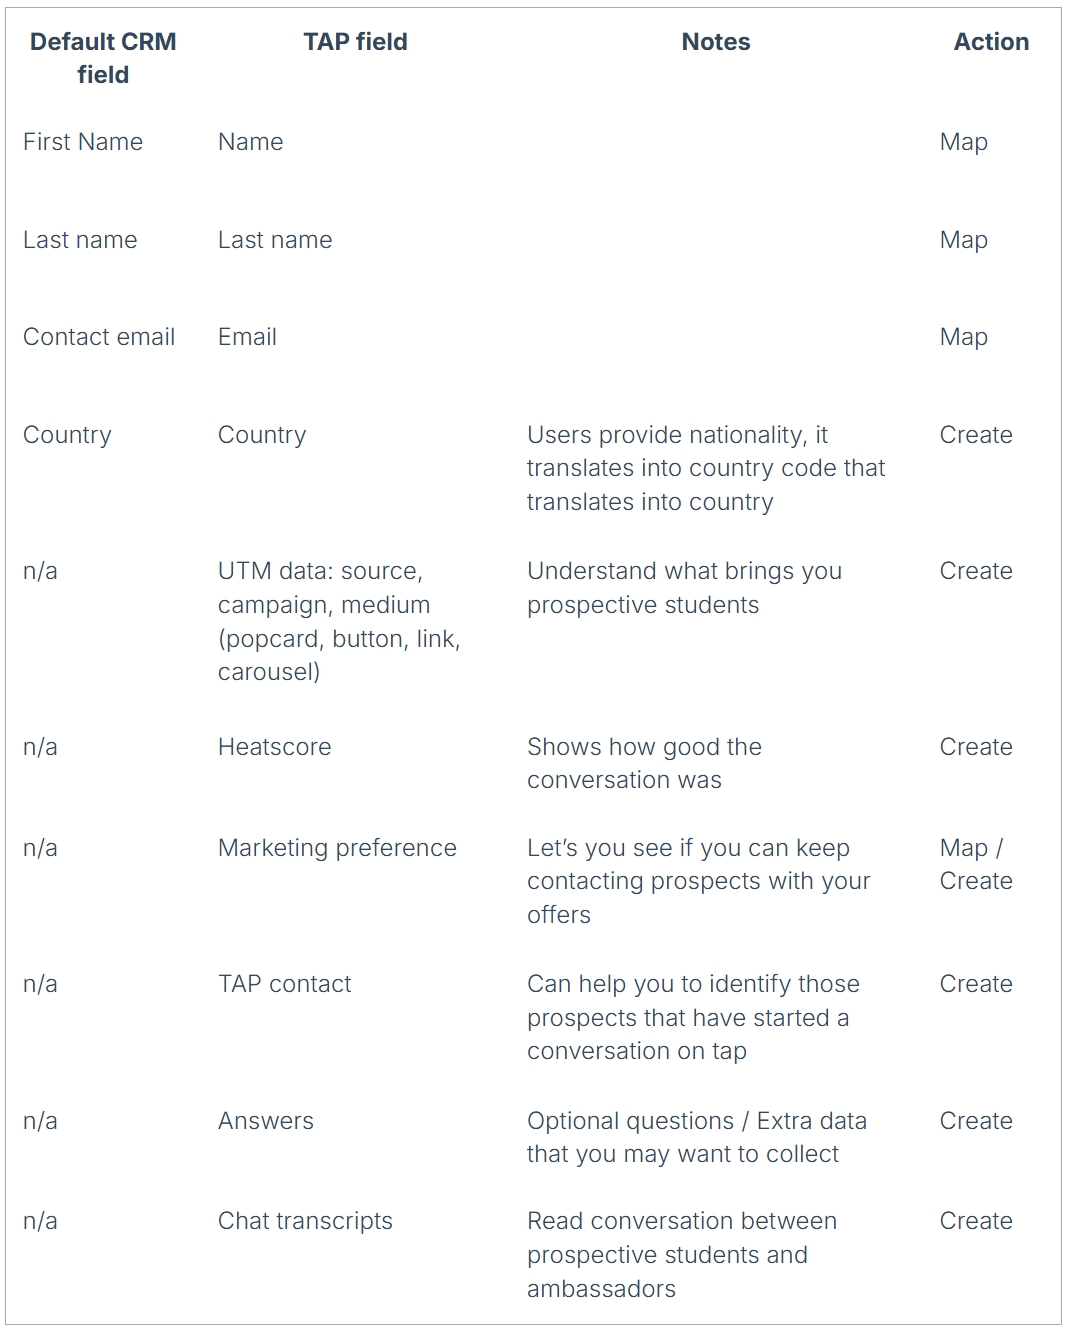
TAP Dashboard
- Create an admin account
- Generate and copy an API key in from the Admin Dashboard > Settings > Integrations.
Setting up your integration
- Create an account with Zapier or access Zapier as an admin user
- Follow this link to gain access to the TAP integration
- When requested, enter your admin email address, API key (see above), and the name of your CRM software
- Zapier will make a test connection
- Set up one or more zaps to tell Zapier when it should sync data with your CRM
- Create a new Zap
- Select The Ambassadorplatform 2.0 (Latest) from the list of applications
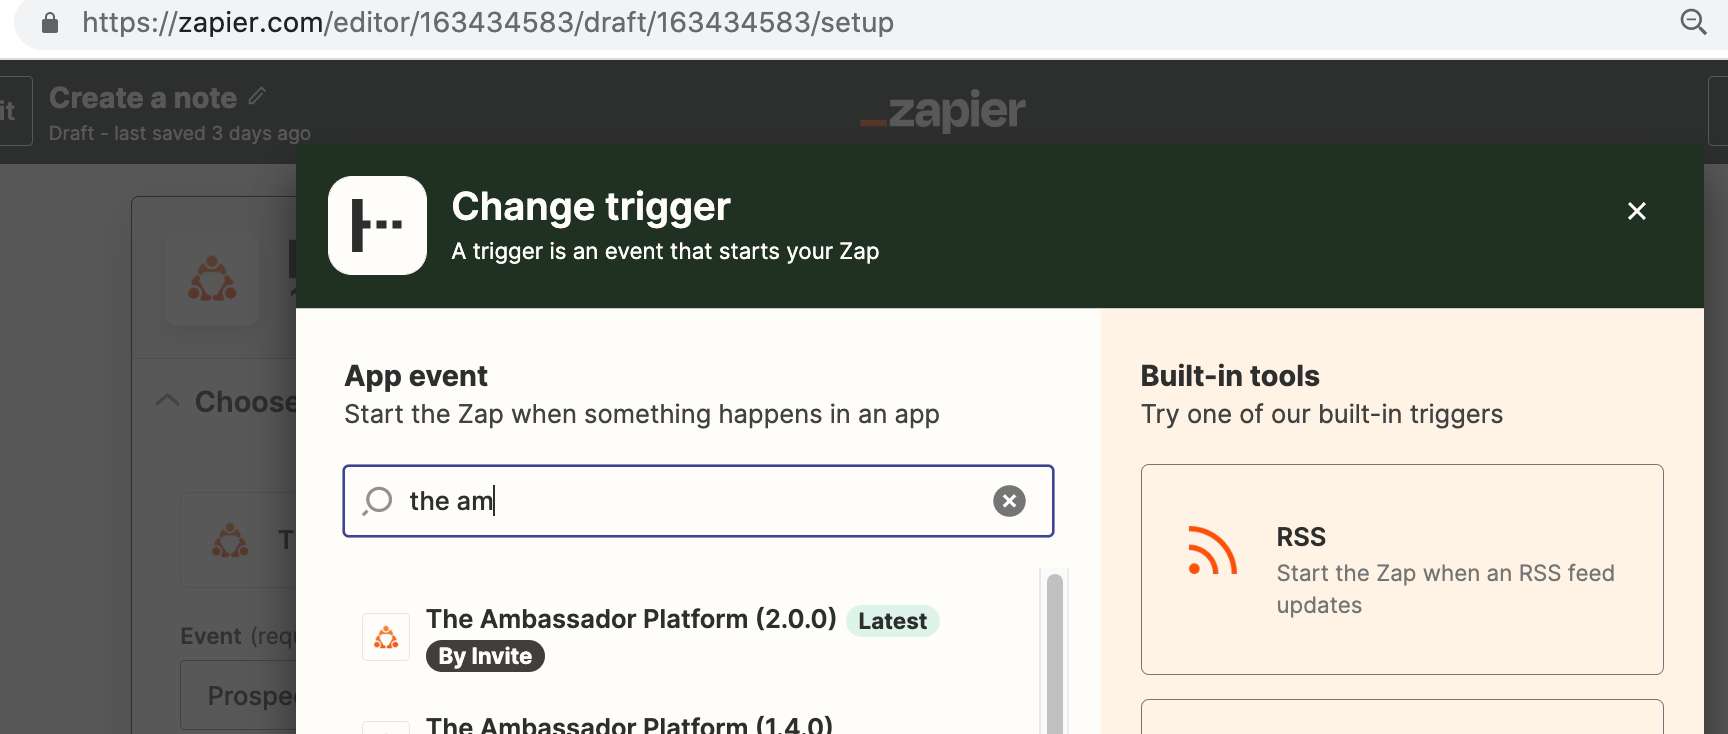
- Select prospects or prospects with chats
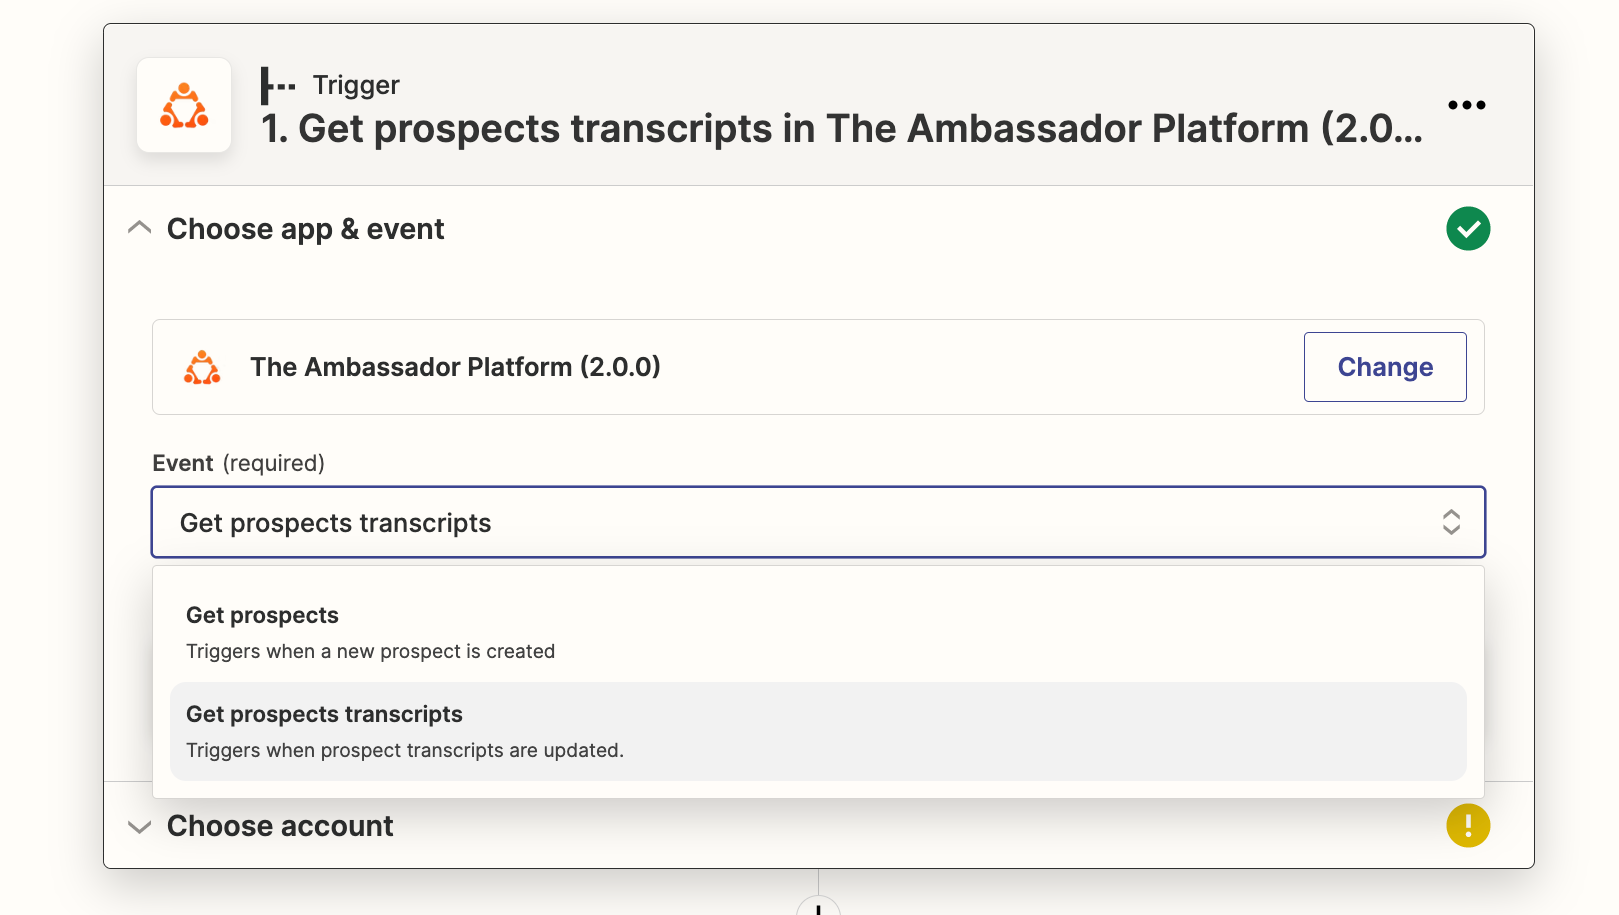
- Chats can be pulled automatically every 2-15 mins or after conversation ends. Select an option you prefer
- Select the CRM app you want to integrate with
If HubSpot:
- Select HubSpot
- Authenticate to the application using admin credentials
- Select action ‘Create and update contact’
- Map fields (including chat transcripts)
- Test integration by sending data of at least one prospect
- Publish integration
If Salesforce:
Salesforce follows a different configuration than HubSpot that has the ‘Create and update contact’ action. Salesforce has separate actions such as ‘Create record’, ‘Find record’, Update Contact'.
If you only want to get prospect data (e.g. name, email, optional data questions), then you will need to have a single ZAP with the action Create record in Salesforce.Creating a record in Salesforce follows the same logic as any other CRM system:
- Select action ‘Create and update contact’
- Map fields (including chat transcripts)
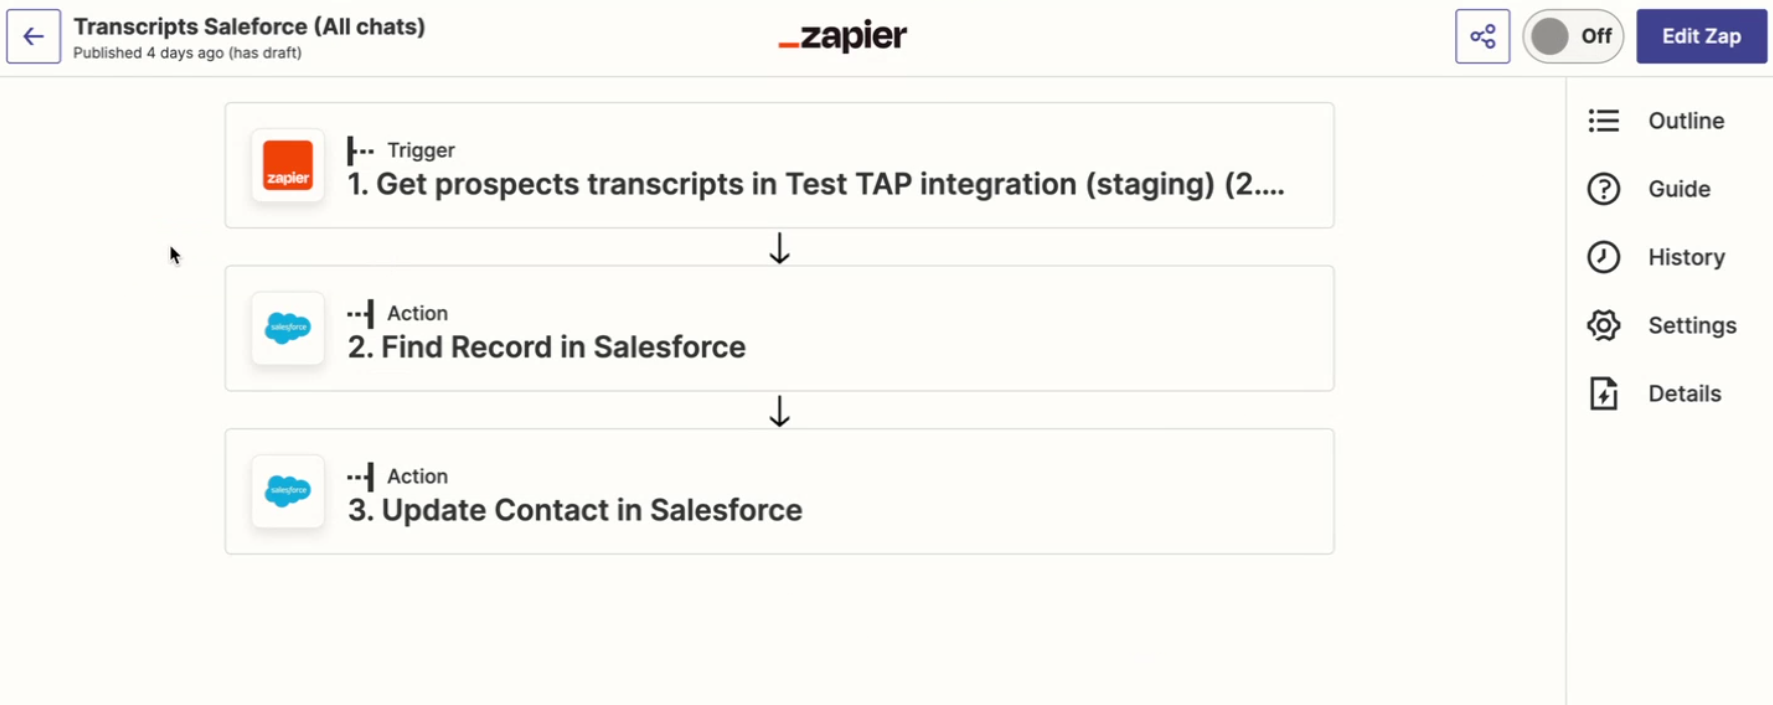
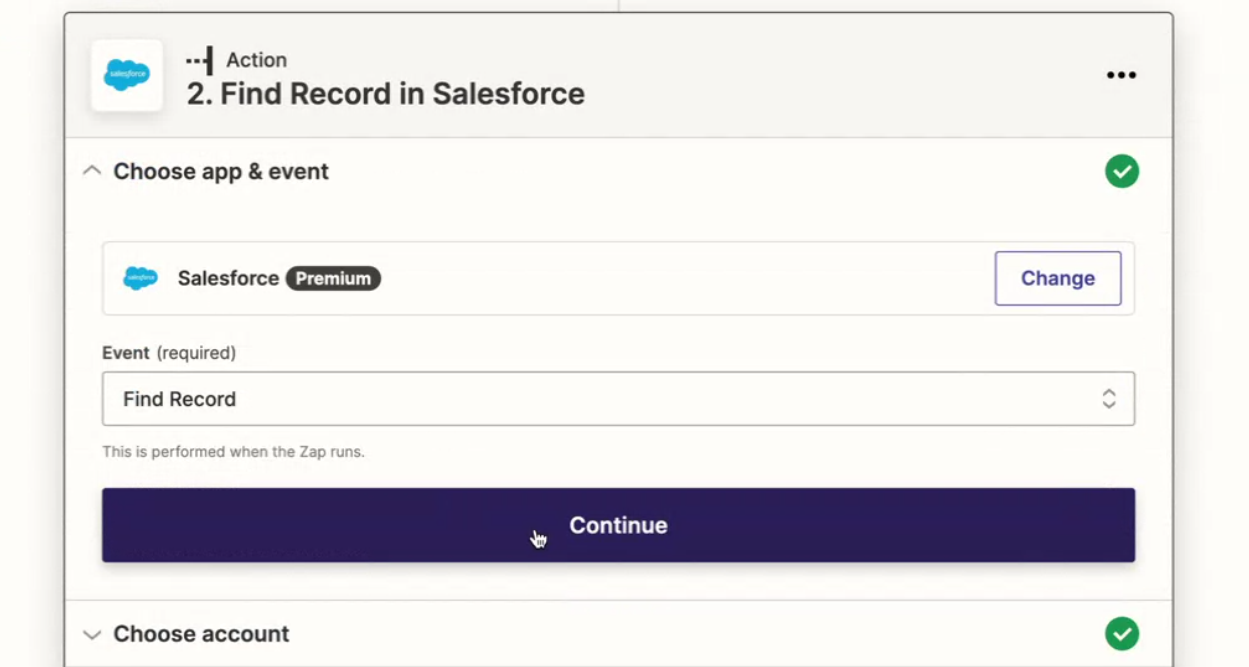
Step 2: Map fields
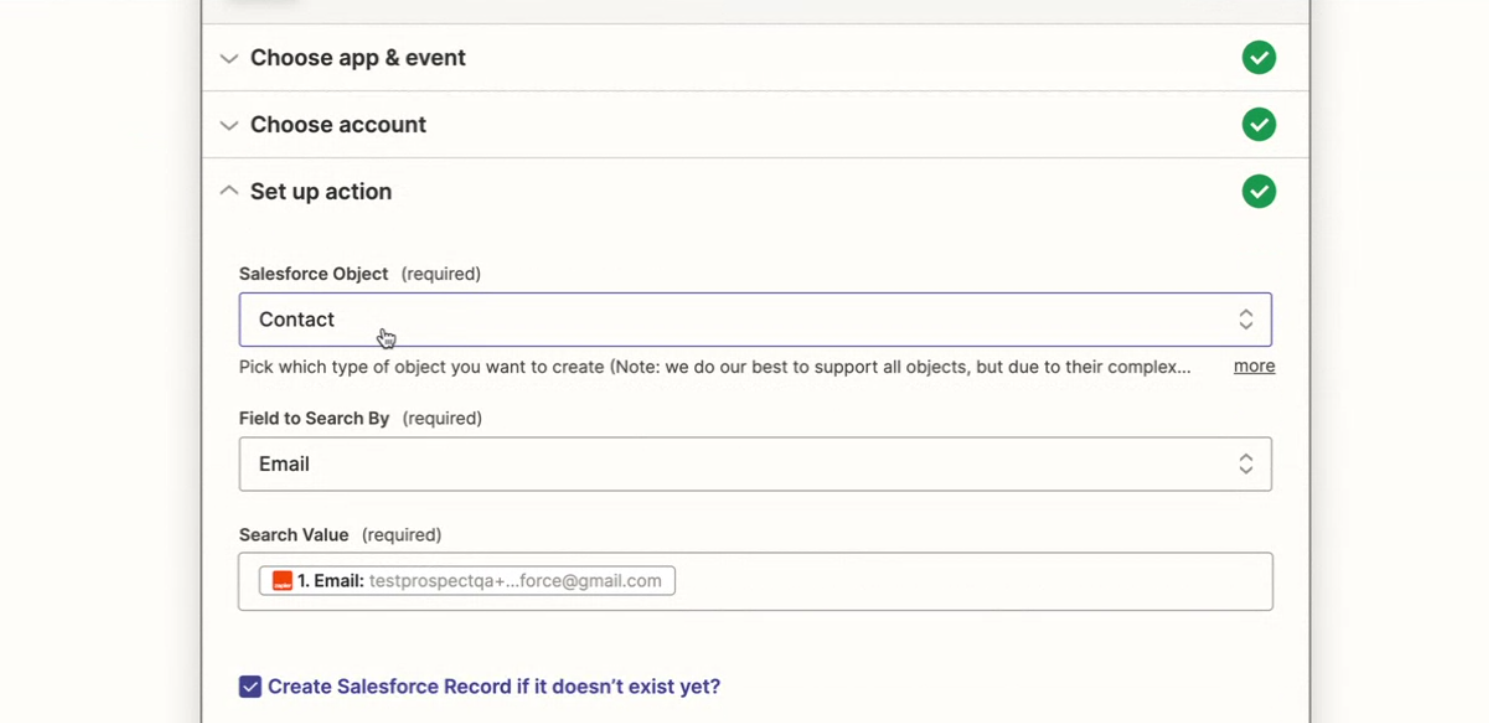
Step 3: Put transcripts into a field you’ve selected

Step 4: Mark checkbox ‘Create Salesforce record if it doesn’t exist yet?' as checked
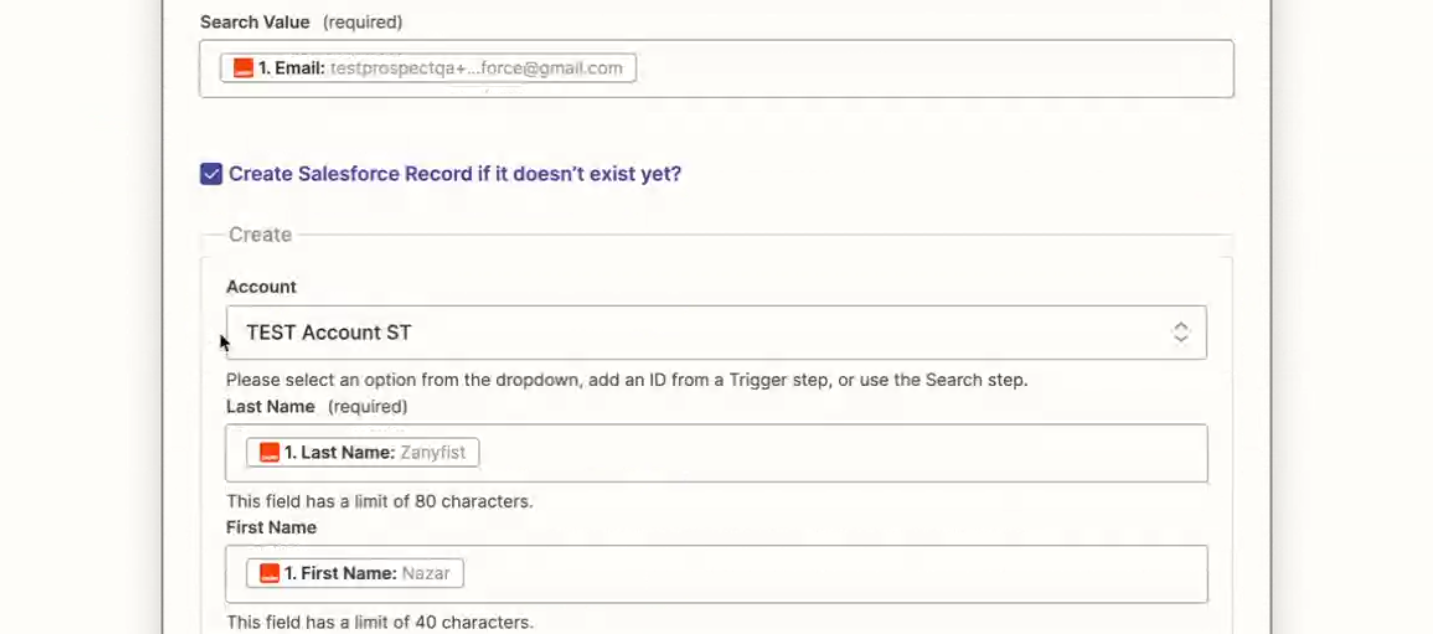
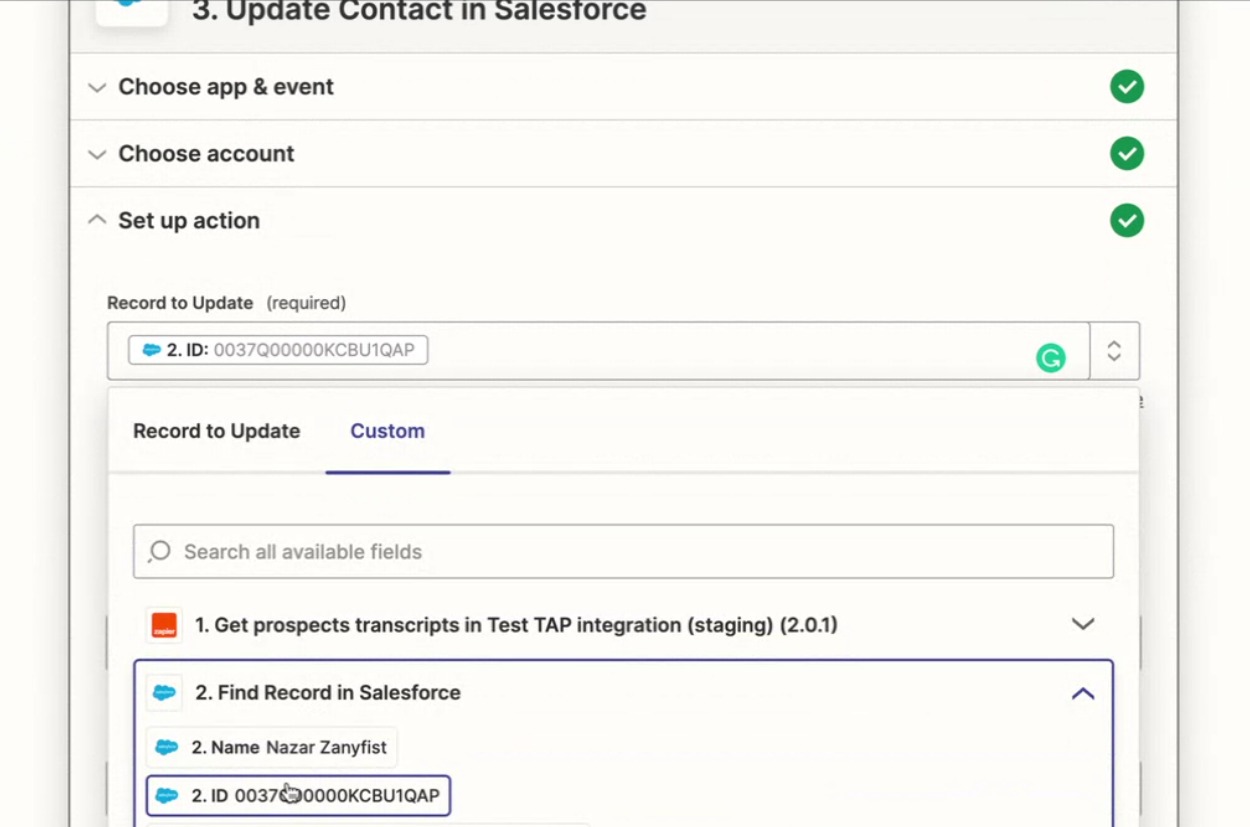
Step 5: Add the next action via Salesforce – Update Contact
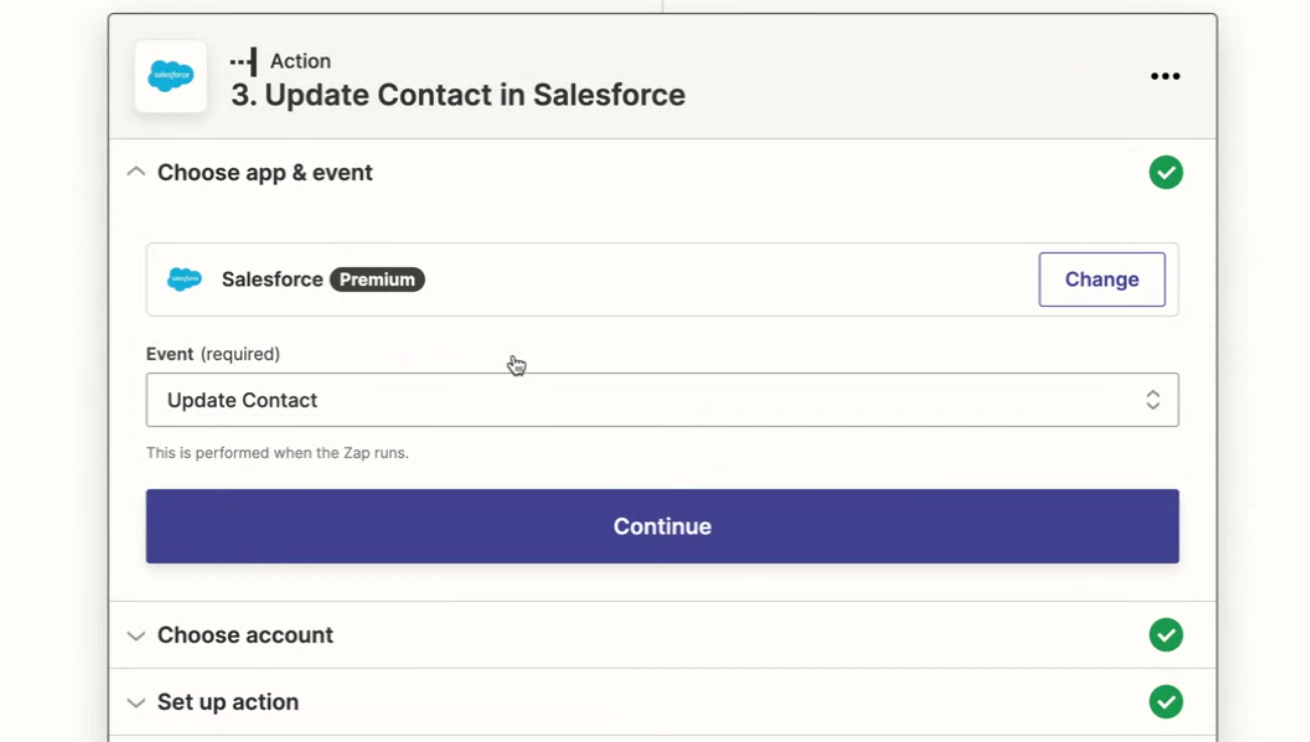
Step 6: Put in the ID of a record (note: this is a variable so despite what ID is shown in the integration, it will change dynamically)
If you're using a CRM other than HubSpot or Salesforce, the process will be similar to the above. If you need any further help, please feel free to get in touch with your Customer Success Manager or via the Feedback page in your Dashboard.